
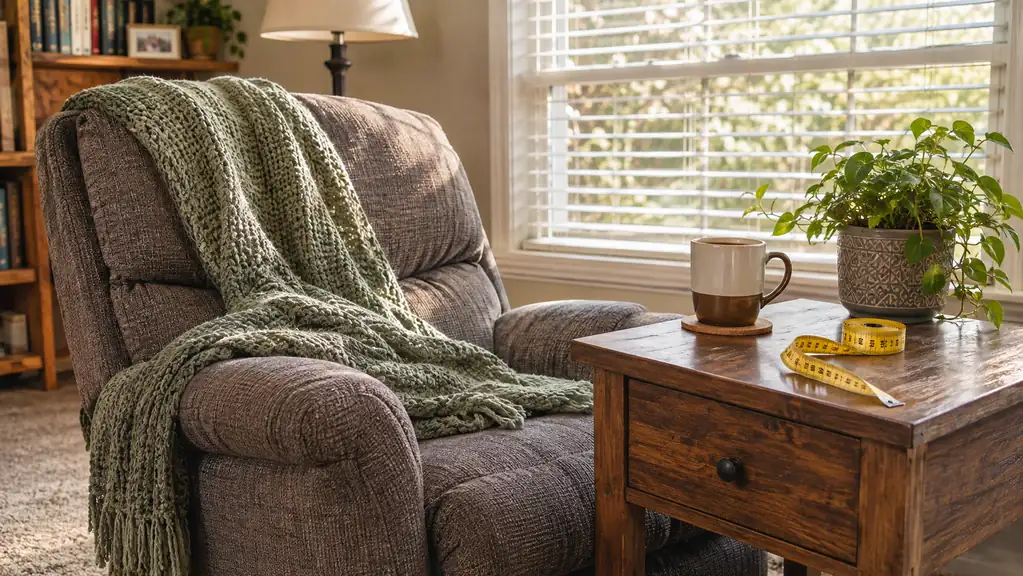
I spilled coffee on the arm of my lift chair in the first month I had it. That was March, and by the end of that week I had an Easy-Going stretch slipcover on the way and a cloth tape measure in my hand, standing on the carpet by the front window trying to remember which number I was supposed to be writing down. I had never covered a chair in my life. I am seventy-two years old and I have bought a lot of things that did not fit, so I measured twice and wrote the numbers on the back of an envelope.
Here is what I did not know going in. A lift chair is not a regular recliner. Mine has a motor under it, a hand remote on a cord, a pocket on the side, and a footrest that swings out on its own. A cover has to live alongside all of that without getting caught in it. The measuring is not the hard part. The hard part is measuring the right thing and then fitting the four pieces in the right order. Once you know the order, it takes about twenty minutes.
Measure the inside of the arms first. That one number decides everything else.
The Easy-Going is four pieces in 80 percent polyester and 20 percent spandex, with an elastic closure and an anti slip backing, sized for a total sitting area of 23 to 34 inches. If your chair measures outside that window, stop here and do not order it.
Amazon Check Today's Price on Amazon →Step 1: Measure the Inside of the Arms, Not the Outside of the Chair
The number that decides everything is the one in the listing: the Easy-Going fits a total sitting area of 23 to 34 inches. That is the clear span across the seat, from the inside face of one armrest to the inside face of the other. Inside, not outside. Most people measure the outside of the chair because that is the part they can see, and then they are surprised when the cover does not fit.
Use a cloth tape, not the metal one from the garage. Sit the end of it down in the crease where the seat cushion meets the back, run it straight across to the other side, and read it at eye level instead of from above. Write it down. Then do it a second time, because the first one is usually off by an inch and an inch is worth having.
While you are down there, measure the seat front to back, from the front edge of the cushion to the crease at the back. The listing gives the cover itself as 31.5 inches deep, 29.92 inches wide and 31.5 inches high, and 2.2 pounds. That last number is friendlier than it sounds. Two pounds is light enough to hold up with one hand while you work the fabric down over the back with the other, which is exactly what you will be doing in step three.
One practical note. My chair sits about eight inches from the wall, and eight inches is not enough room to get behind it with a tape. Pull the chair out into the room before you start, measure, and then decide where it goes back. It is a nuisance for ten minutes and it saves a wrong order.
Step 2: Look at What Your Chair Does Before You Order
Before you buy, walk around the chair and look at the parts that move. Mine is a MCombo power lift recliner, and the three things that matter to a cover are the hand remote, the cord it hangs on, and the pocket on the side where I keep that remote.
The cord is the part to think about. My remote lives in the chair's side pocket, and a cover with a long skirt down the side will cover that pocket right up. The chair still works. You will just be fishing for the remote every evening. Plan where the remote is going to live and route the cord so it does not get pinched when the chair lifts or reclines.
And be honest with yourself about what this is. The listing says it is not water resistant. It is a stretchy fabric cover, machine washable, and it is meant to keep the chair's own upholstery clean from crumbs and everyday dirt. It is not a barrier. My coffee came out of it with a damp cloth and never stained, and I have been careful since. If you want liquid kept off the chair underneath, this is the wrong product and it is better to know that before the box arrives.
Step 3: Put the Big Piece On With the Chair Upright
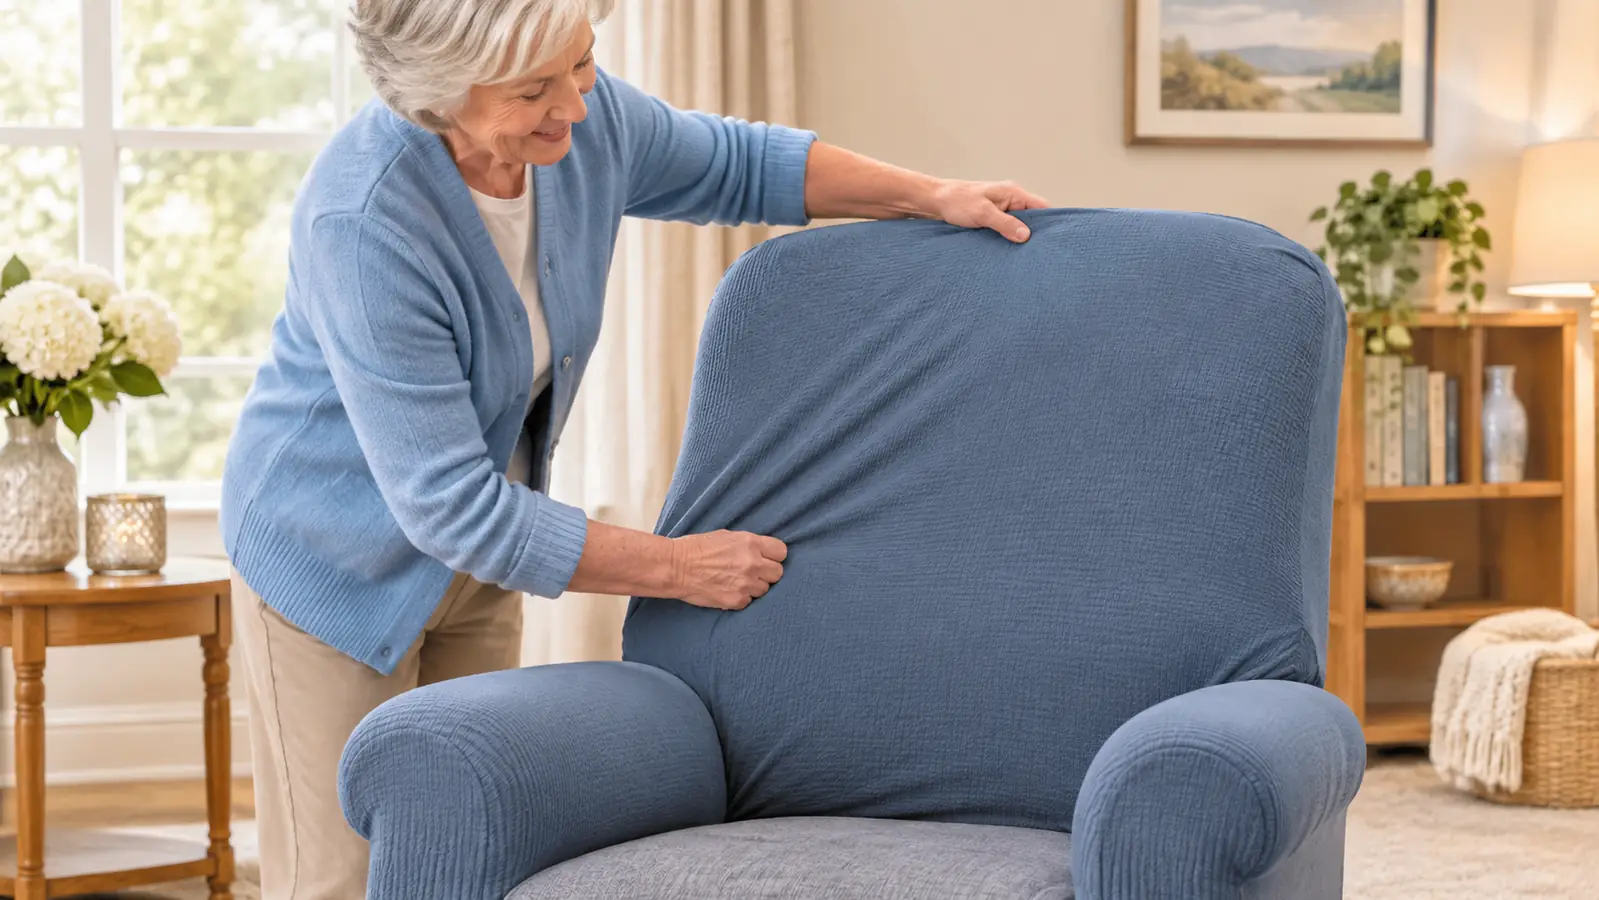
Start with the chair upright and the footrest closed. Lay the largest piece over the back and let it hang down both sides. That is the seat and back piece, and it does most of the work.
Find the labels before you start pulling. Every piece is marked, two of them carry the word ARM, and the big one is marked at the center back. I did not notice until Karen pointed at them, and by then I had already tried to put an arm piece over the backrest, which is a fine way to spend ten minutes feeling foolish in your own living room.
Work the fabric down from the top rather than pulling it up from the bottom. The closure is elastic and the backing is anti slip, so it wants to grab hold as soon as it touches. Push it down over the backrest, pull the front edge under the seat cushion, and let the elastic tuck itself around the base. Smooth it flat with your hand as you go.
Step 4: The Arms and the Footrest Are the Fussy Part
The two arm pieces slide on from the front, over the top of each armrest. Line the seam up with the outside edge of the arm and pull it down until the elastic catches underneath. Do the side you do not sit next to first. Consider it practice.
The footrest piece is the fourth one, and on my chair it sits a little loose. Not falling off, just not as snug as the seat and back. I have decided I can live with it. If slack on the footrest would bother you, better to know now than after the packaging is in the recycling bin.
With all four pieces on, go around the chair and push the fabric into the creases. The gap where the back meets the seat is the one that matters, because that is where crumbs and coffee go to live. Tuck the fabric down into that gap with your fingers, then sit for a minute and let your own weight settle everything before you tuck it a second time.
Measure the inside of the arms, not the outside of the chair. That one number decides whether the cover fits, and it is the number most people guess at.
Step 5: Run the Chair Through Everything Before You Sit Down
Now work the chair through its full range with nobody in it. Recline it all the way back. Bring it upright. Raise it to the lift position. Go slowly the first time and watch the fabric at the hinge.
What you are looking for is a fold of fabric caught between the moving parts. If a corner is riding into the hinge, work it out and tuck it deeper before you try again. The cover needs to stay clear of the lift mechanism and clear of the remote cord. If either one is fighting the fabric, you will hear it in the motor before you see it.
Then sit down and stand up two or three times. Getting out of the chair is the reason I bought a lift chair in the first place, and a cover that shifts under you while the chair rises is worse than no cover at all. Mine has not moved. If yours does, take that piece off and start it again rather than living with it, because it will not settle on its own.
What to Do If Your Chair Measures Outside That Range
Some chairs are simply wider than this cover is built for. A friend at church has a big overstuffed recliner, and I would not try to cover it. If your inside measurement comes out at 36 inches, this cover is not going to work, and no amount of tugging changes that. Stretch fabric will go a little past what a listing says, but it goes by stretching thin, and a thin cover on a wide chair looks like a bed sheet with ambitions.
What you can do instead is shop by your measurement rather than by the picture. Look at covers sold for a specific size or a specific style of chair, and read the range they give rather than the number of stars. I have not owned one of those, so I cannot tell you how they fit. I can tell you I would rather hear that a cover is not mine from the listing than figure it out in my own living room with the box already open.
What Else Helps
A second pair of hands is worth more than any tool in the drawer. Karen held the back piece steady while I worked the seat edge under, and that is the difference between twenty minutes and an afternoon of huffing and puffing. If you do not have help, put the big piece on first and sit on the front edge to hold it while you tuck.
Wash it before the chair needs it rather than after. Mine goes in on gentle about every three weeks and I hang it over the shower rod to dry. It has held its shape and it has not shrunk. While it is off the chair, that is your ten minutes to vacuum underneath and check the hinge for anything that has slipped down into it.
Two small things made the whole setup work better for me. My HOMBYS lumbar pillow sits in the small of my back when I am upright with the crossword, and it also keeps the cover from riding up behind me. The little caddy on the right armrest holds my reading glasses and the TV remote, so I am not digging into a covered side pocket all evening.
And a word for anyone covering a chair they use because standing up has gotten hard. Ask your doctor, or a physical or occupational therapist, about the chair and about how you get in and out of it, especially after surgery or a fall. A slipcover is a piece of fabric with an elastic edge. It is not a safety device, it does not change how the chair works, and it is not there to fix anything. It just keeps the upholstery underneath it clean.

What I Would Do Differently
I would have looked at the side pocket before I ordered. That is the one thing I would change. The cover is fine, the chair is fine, but for about a week I was lifting the fabric every evening to get at my remote before I trained myself to keep it somewhere else.
I would also have bought it sooner. I waited a month after the coffee spill, mostly because I was sure I would get the size wrong. The listing carries a 4.4 rating across a great many reviews, and I read a good pile of them, but reviews do not tuck an arm piece in for you. A tape measure does that.
The other thing I would tell you is to fit it on a day when you are not in a hurry. It is not difficult. It is just fiddly, and fiddly on a bad morning turns into a fight. Give yourself a clear half hour, put the coffee mug on the far side of the room, and work through the five steps in order.
Eight months on, the cover is on the chair every day and I notice it about as often as I notice the carpet. That is the best thing I can say for it. When I do think about it, it is usually a Thursday when it comes off for a wash, and the upholstery underneath still looks like the day the chair arrived.
The number to check first, and what to do once the box is open
Four pieces, elastic closure, machine wash, sized for a sitting area of 23 to 34 inches. Measure your chair twice before you order, then take your time fitting it.
Amazon Check Today's Price on Amazon →